Obviously if you reverse the steps you will then have a correctly assembled clutch.
Also left a durability tip on the last image to reduce the melting issues some have as well as a smoother operating primary.
Hope this helps some of you.
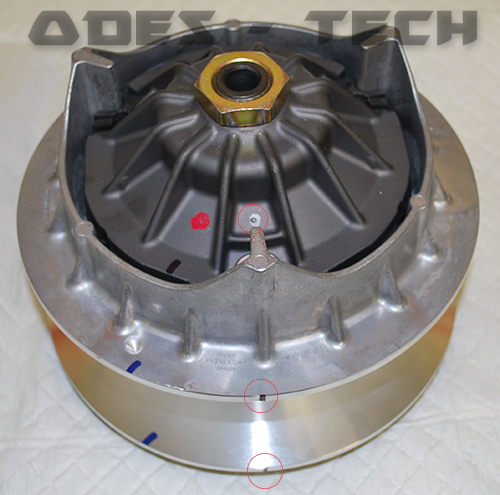
(1) Remove nut for cover and this can be either a 30mm or 32mm nut. When assembling torque the nut to 80 lbs/ft.
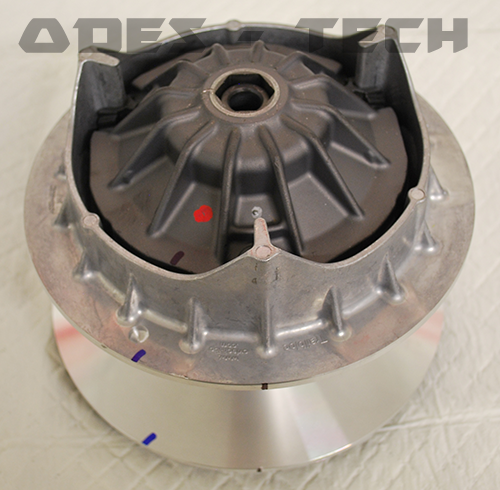
Also pay attention to the timing marks on the clutch and you will see one on the cover and then one on each sheave circled in red.
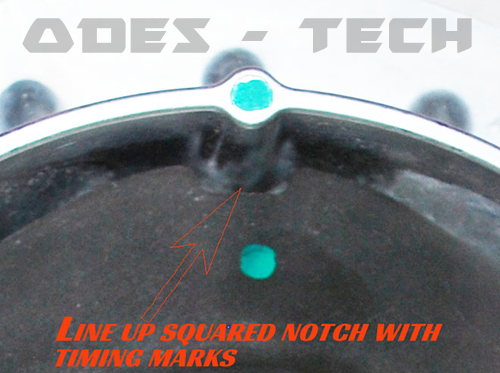
(1a) Also pay attention to the timing marks on the clutch and you will see on this stamped steel cover you want the squared notch lined up with the timing marks on the sheaves.
(2) As you can see there is not alot of spring pressure in oem form so you don't need to worry about getting hit in the face due to spring pressure.
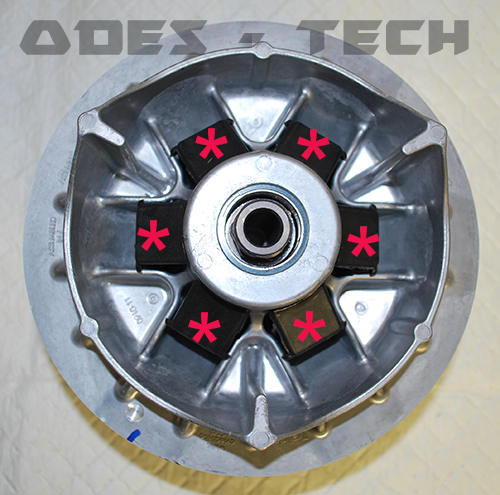
(3) Pull the cap and then you will see the weights and the beveled edge of the weight blocs are at the top and the rounded ends are in the pockets.
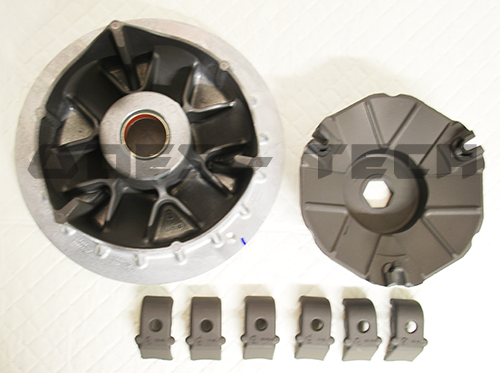
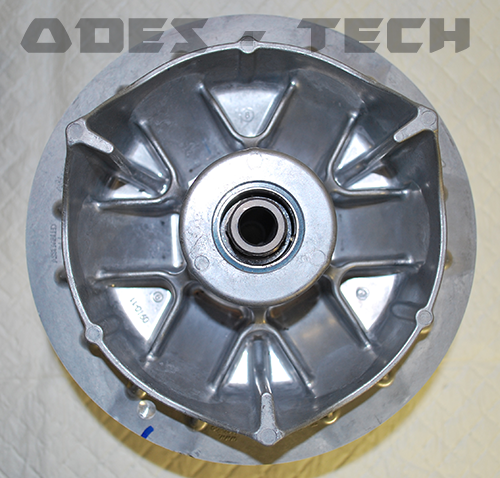
(4) Here we have the empty movable sheave and as you can see this is a new clutch.
Clean the pockets with acetone and let dry for the application of dry film lube later.
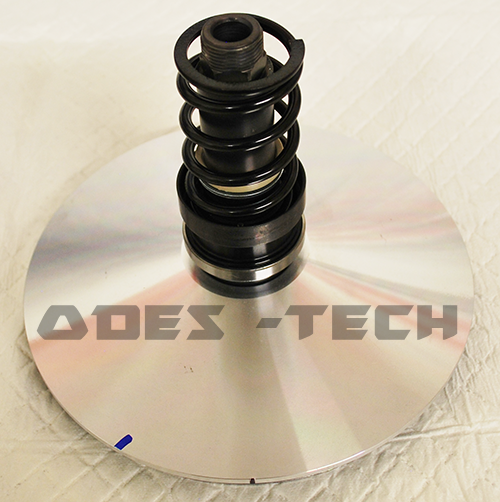
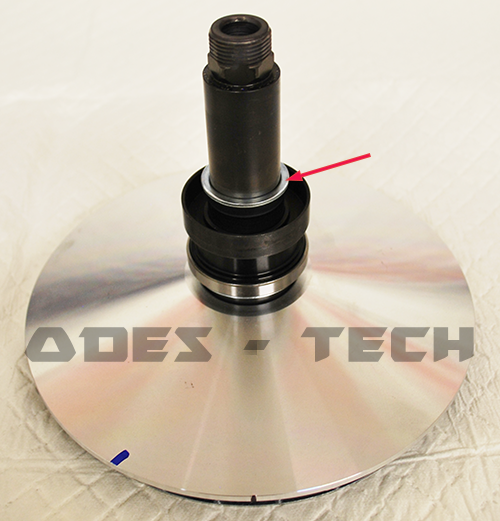
(5) After removal of the movable sheave then you will see the spring, travel limiters, idler bearing spacer , bearing , washer.
If you pull the movable sheave off and the spring and spring seat as well as travel limiters are stuck in the movable sheave bore please see my Stuck Primary Spring Seat post.
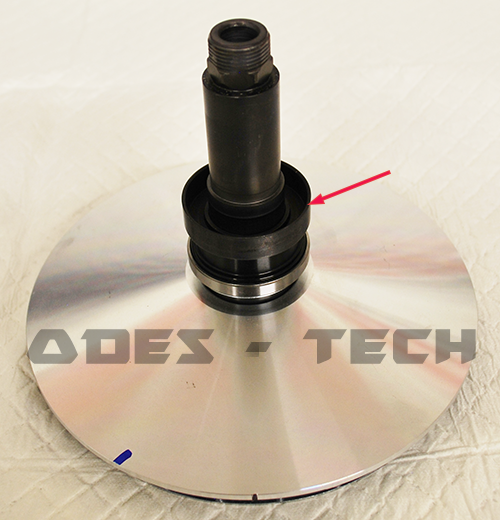
(6) One section of the travel limiter, This basically prevents the belt from getting all the way out on the primary at full shift and possibly flipping.
(7) Second section to the travel limiter and there are other thicknesses you could get to reduce top speed not that any of you would want to do that.
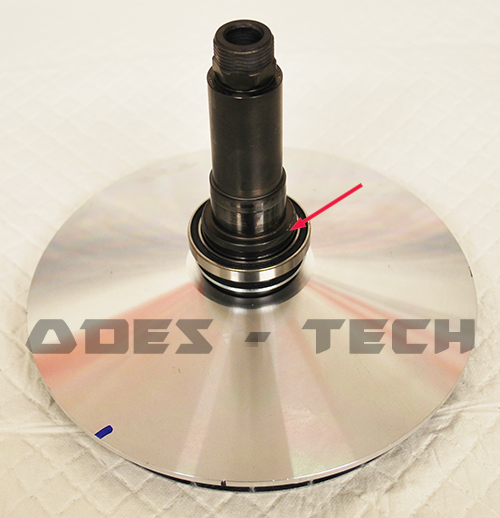
(8) Spring seat and most of the time with a little twisting and pulling they will slide off but this one was a bugger to get off.
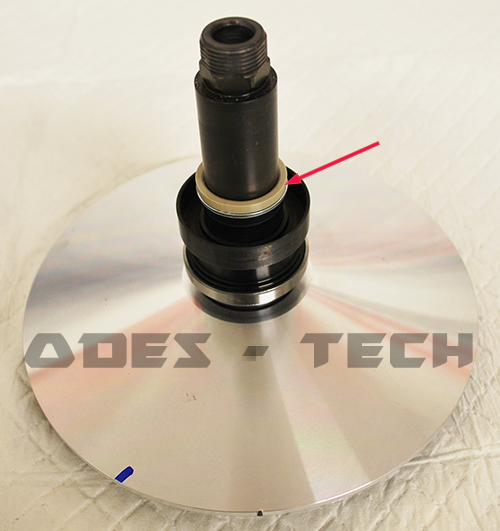
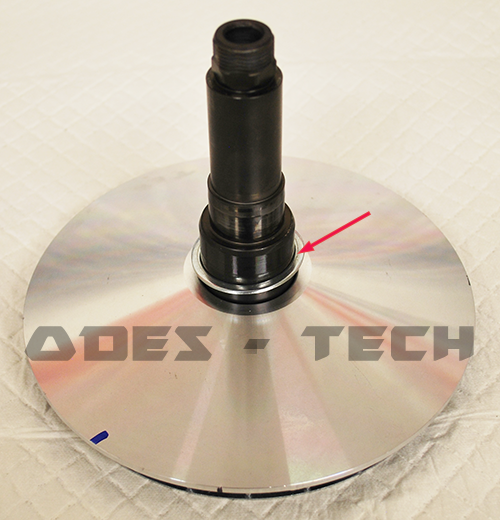
(9) Plastic idler bearing spacer and different years have different thicknesses to if it needs replacing measure it and give me a shout as I stock the odd ball parts for these.
Also you can see the bearing and this is not a one way bearing or is it for engine braking, This is strictly a idler bearing that eliminates the need for shims in the secondary to set belt deflection so the belt stays tight at idle and better engagement.
(10) Bearing steel washer.
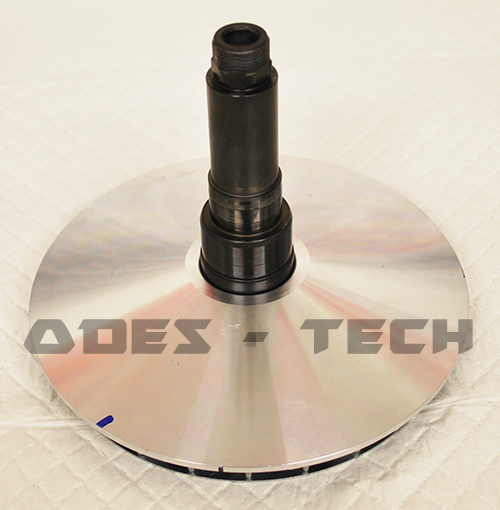
(11) Stripped down Trailbloc primary shaft.
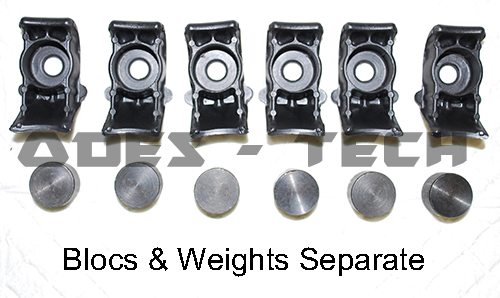
(12)Image of the weight blocs and weights separate. For proper proper operation of the clutch the weights need to be installed in the weight blocs before installation as shown below.
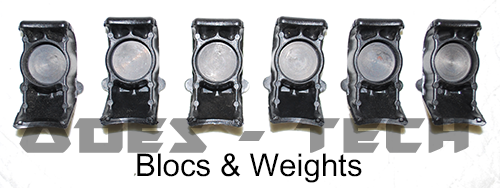
(12a) Image of the weight blocs and weights together.
(13) TIP:
This is optional but for the time spent and the rewards it gives I consider it a necessity, All the clutches that I send out with clutch kit's already installed have this done to them.
Clean the metal surfaces with acetone and let dry and then spray with a dry film lube and wait for the the wife to leave and pop them and the coated weight blocs in the oven for about 20mins @150° F. Just makes the lube a bit more durable and it will not stink up the kitchen or the house.
I use a old toaster oven that I have in the shop.